Leaving your pup indoors alone for eight or nine hours while you're working could really stress out your four-legged buddy. When my Siberian husky was left free to roam around the house, he got into all sorts of mischief. Therefore, I constructed a dog kennel—a fenced outdoor area where he could expend his energy safely without getting away.
The procedure is quite simple and needs minimal tools.
Let’s start with the fundamentals:
Begin your day with more knowledge. Receive all essential news directly in your mailbox every morning.
What materials are required for building a dog kennel?
- Dog kennel with cover
- Gravel
- Concrete blocks (8 inches x 8 inches x 16 inches)
- Wooden stakes
- Mason twine
- I-beam level (at least 40 inches long)
- Long-handled, flat-blade shovel
- Adjustable wrench or socket wrench
1. Locate an appropriate location for the dog kennel
It might be clear, but excellent location choice could make the distinction of finishing within one working day instead of taking up an entire vacation week.
The surface doesn't need to be completely flat, but it must have a steady slope to reduce the amount of excavation required. The location will also dictate the size of the dog kennel you're able to construct.
I bought two dog kennels each sized at 15 feet by 5 feet. I utilized their rear panels for extra cladding. Afterward, I combined them to create one extended area of 35 feet by 5 feet, providing ample space for my dog to move around.
You need to assess the available area to determine the size of kennel that can accommodate it.
2. Order your kennel
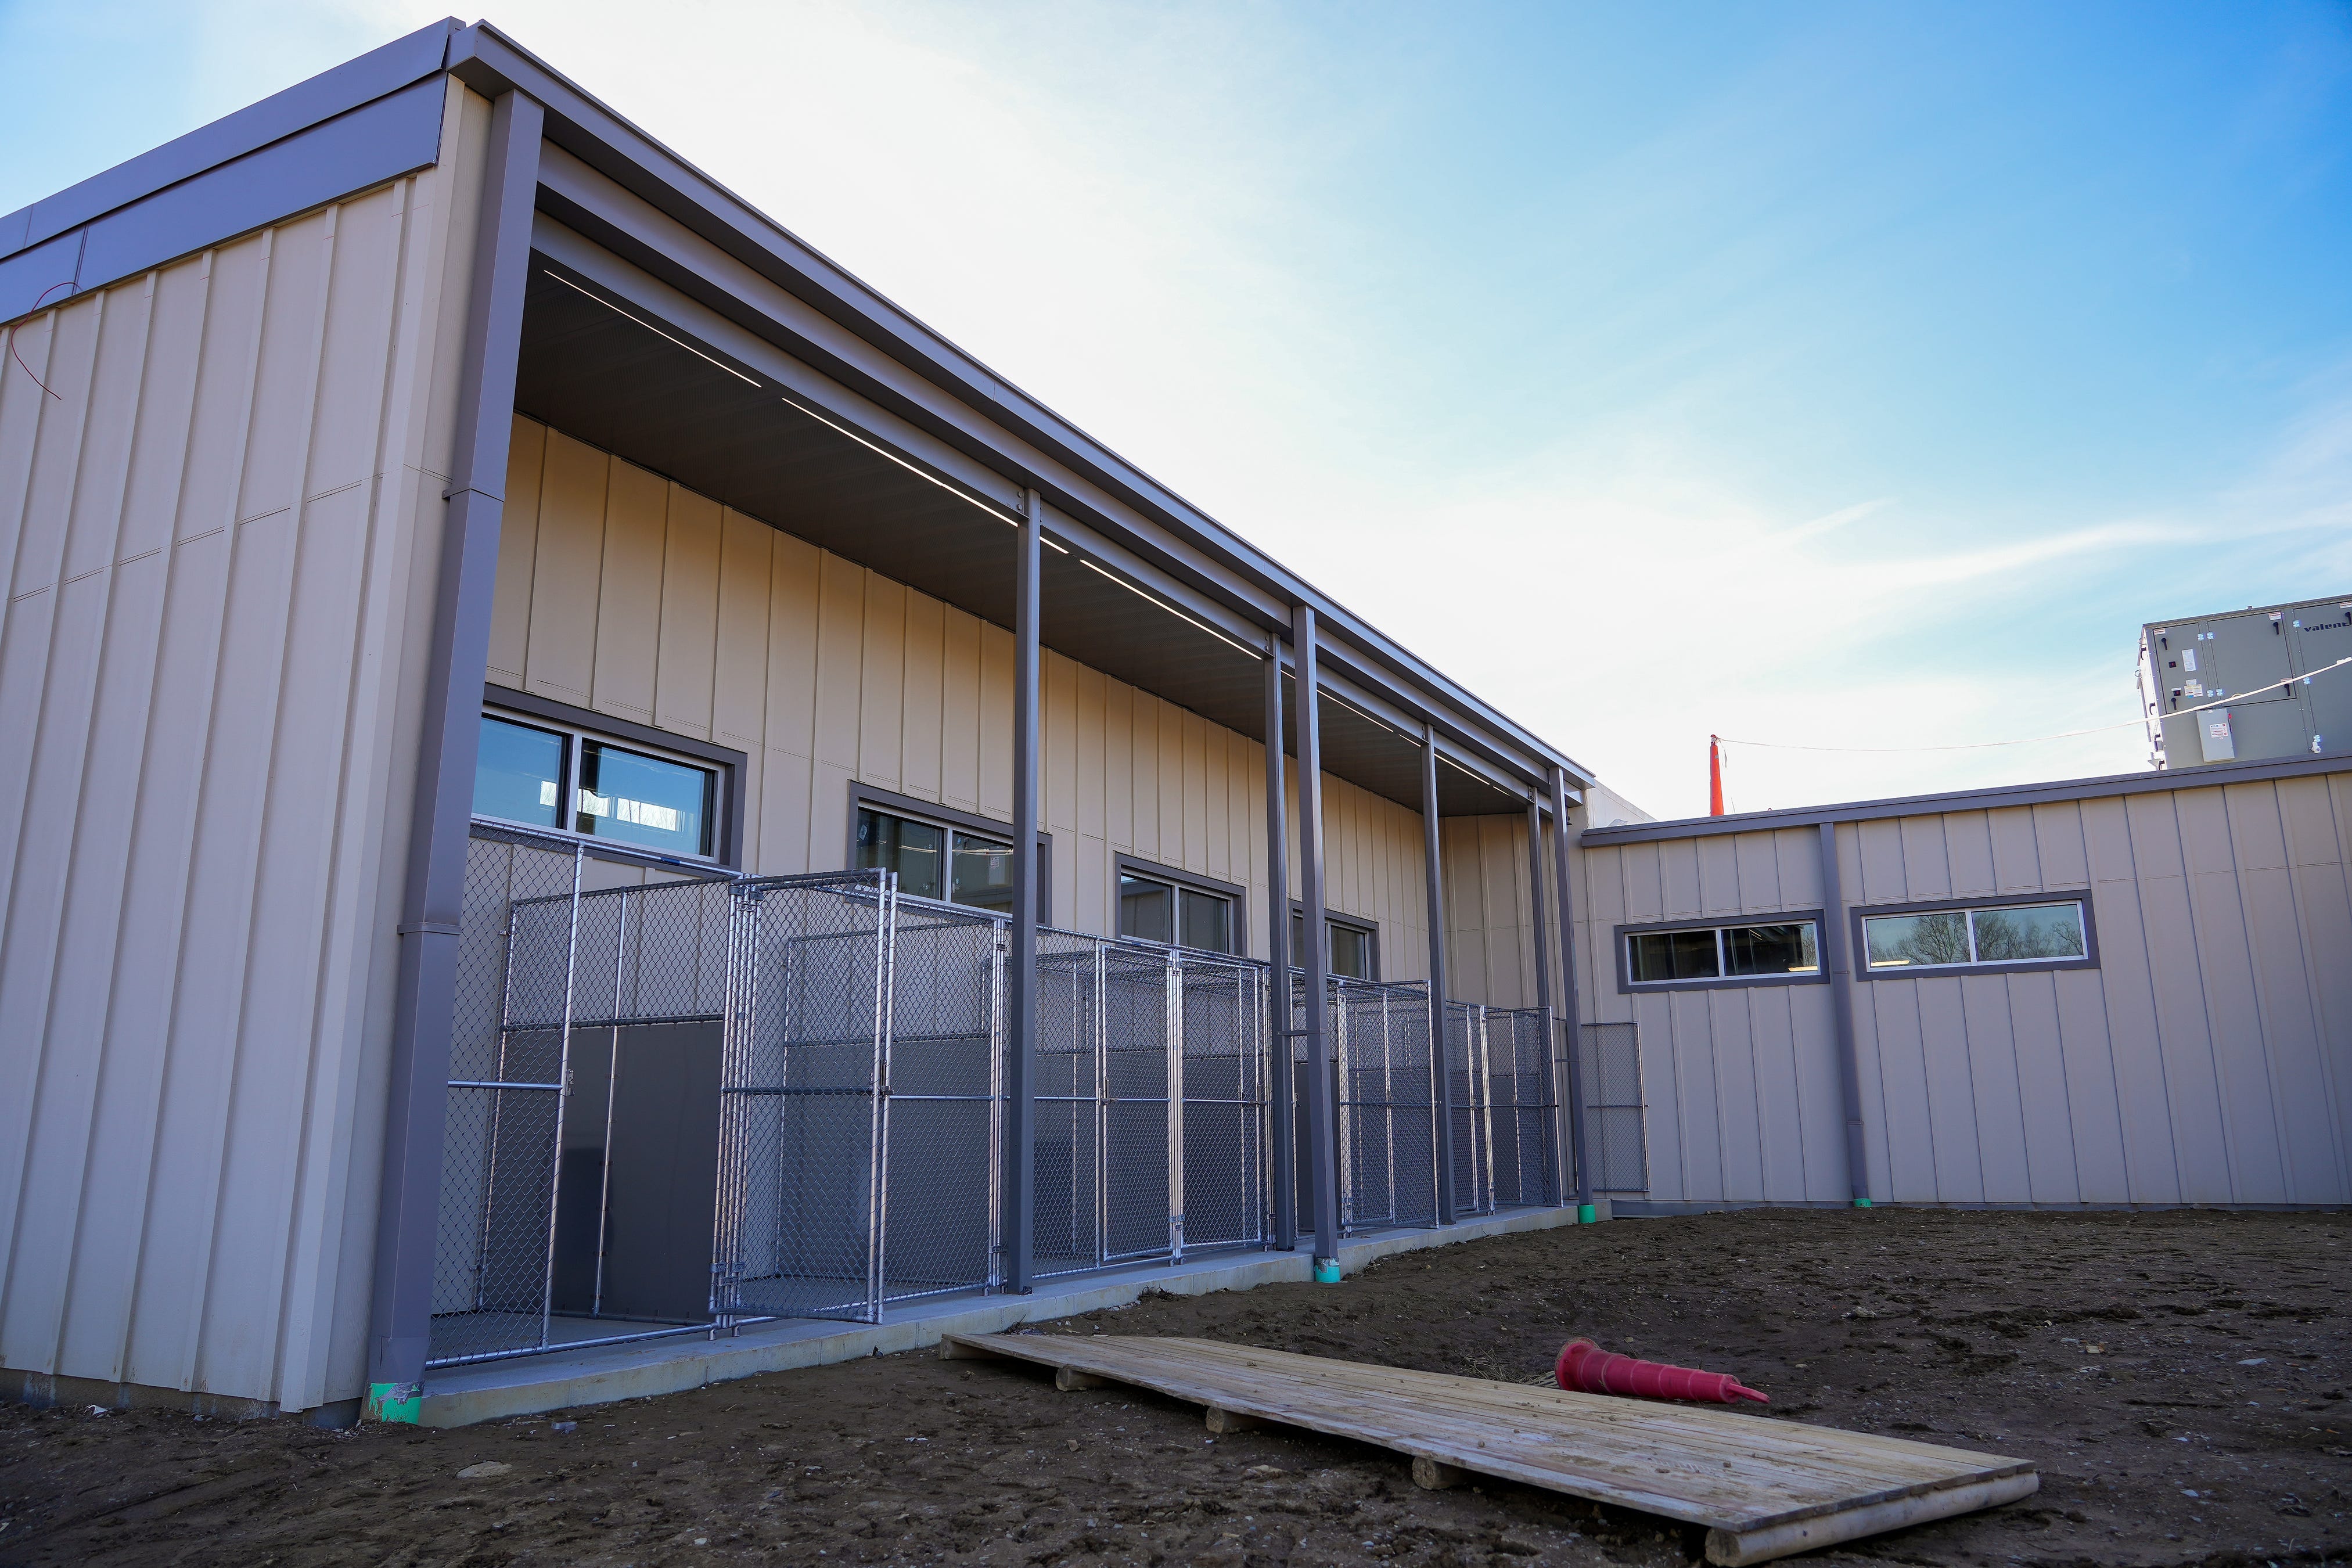
For those looking for variety, online shopping is the best option. Local hardware stores typically carry just one or two options, whereas the selection available online can be so extensive that it might seem overwhelming. I opted for a kennel with chain-link fence sides.
3: Prepare the kennel site
Owners with the rare dog that doesn’t dig (I hear they exist), can skip ahead and assemble the kennel. But I needed to take an extra step.
Following discussions with both my husky’s breeder and a contractor, I opted to construct a kennel featuring a gravel surface encircled by submerged cinderblocks designed to stop him from burrowing his escape from the confined area.
I began with wooden stakes and mason twine to outline the space for the kennel. Since I intended for the kennel to rest atop the cinder blocks, I marked off an area that was 8 inches broader and 8 inches longer than the actual size of the kennel itself.
The contractor who recommended this advised digging 4 inches deep before positioning the cinder blocks within the excavation area to create a foundation for the kennel walls. However, since Siberian huskies like to dig, I decided to go with a depth of 6 inches instead.
4. Dig and level
Now, take hold of the flat-shovel. Opt for one that has a long handle, allowing you to avoid bending too much. Additionally, ensure that it features an effective step, which is the upper part of the blade where you can firmly put your foot to apply extra force when digging.
Once you near your target depth, drive two stakes into the ground and run twine from one to the other. Use the level to make sure the twine runs true. The flat-blade shovel will make it easy to level the dirt. I moved the stake and twine along one-foot increments, using the ruler on the level to check depth as I went along.
Interested in more tips for your home? Check out USA TODAY Home Improved for home and garden project advice.
5. Position your Cinder blocks
Position the cinder blocks. To assist with their alignment and ensure they were set correctly, I drove two stakes into the ground and stretched twine across them at the height where the top of the cinder blocks should be. This helped me verify their positioning and adjust for any tilting. Afterward, I made some minor adjustments to guarantee the blocks were both level and aligned properly.
6. Pour your gravel
I placed fifty-pound bags of gravel across the designated space for my kennel. Afterward, I cut open these bags and evenly distributed the gravel within the area. This method guaranteed an uniform spread. Since I needed a depth of six inches, I applied another layer of gravel. A single fifty-pound bag can cover two square feet at three-inch thickness. Smaller-sized gravel particles would be gentler on your dog’s paws. Online calculators will assist you in figuring out the number of bags required.
7. Assemble
Gather your toolkit for setting up the doghouse. Typically, you'll only need basic tools like a socket wrench set or an adjustable wrench. Start by attaching two panels that meet at a corner before continuing with further assembly steps.
Story continues below.
8. Add your cover
I’ve rarely met a dog that couldn’t jump higher than you’d guess. Make sure your kennel comes with a cover, and be sure to install it.
What is the cheapest way to build a dog kennel?
- Kennel: $400-$800 (like anything, you can spend thousands for fancier ones)
- 28 cinder blocks: ~$80
- 110 bags of gravel (55 cubic feet): $550-$650
- Wooden stakes: $8
- Mason twine: $6
- I-beam level: $20
- Flat-blade shovel: $30
- Crescent wrench: $25
Total cost: $1,119-$1,619
The article initially appeared on USA TODAY: If your dog is destroying your home, construct an outdoor kennel to help them burn off their excess energy.